1.VScode配置远程启动项目
下载VScode远程插件,并安装对应的远程插件模块 Remote-SSH/Remote - SSH: Editing Configuration Files。随后开启并配置远程,连接至远端客户机,并安装C/C++插件在远端。

2.配置VScode远程调试配置文件
打开项目中.vscode文件夹的lauch.json文件,进行如下代码配置,其中配置的二进制程序需要采用Debug模式编译好。

{
"version": "0.2.0",
"configurations": [
{
"name": "gcc - Build and debug active file",
"type": "cppdbg",
"request": "launch",
"program": "${fileDirname}/${fileBasenameNoExtension}",
"args": [],
"stopAtEntry": false,
"cwd": "${workspaceFolder}",
"environment": [],
"externalConsole": false,
"MIMode": "gdb",
"setupCommands": [
{
"description": "Enable pretty-printing for gdb",
"text": "-enable-pretty-printing",
"ignoreFailures": true
}
],
"preLaunchTask": "C/C++: gcc build active file",
"miDebuggerPath": "/usr/bin/gdb"
},
{
//自定义调试项目名称
"name": "vagc",
"type": "cppdbg",
"request": "launch",
//重点:program需要配置为debug编译好的二进制文件绝对路径
"program": "/root/workspace/vagc/cmake/build/vagc",
//配置参数"args": ["-o","debug"],
"stopAtEntry": false,
"cwd": "${workspaceFolder}",
"environment": [],
"externalConsole": false,
"MIMode": "gdb",
"setupCommands": [
{
"description": "Enable pretty-printing for gdb",
"text": "-enable-pretty-printing",
"ignoreFailures": true
}
],
"miDebuggerPath": "/usr/bin/gdb"
}
]
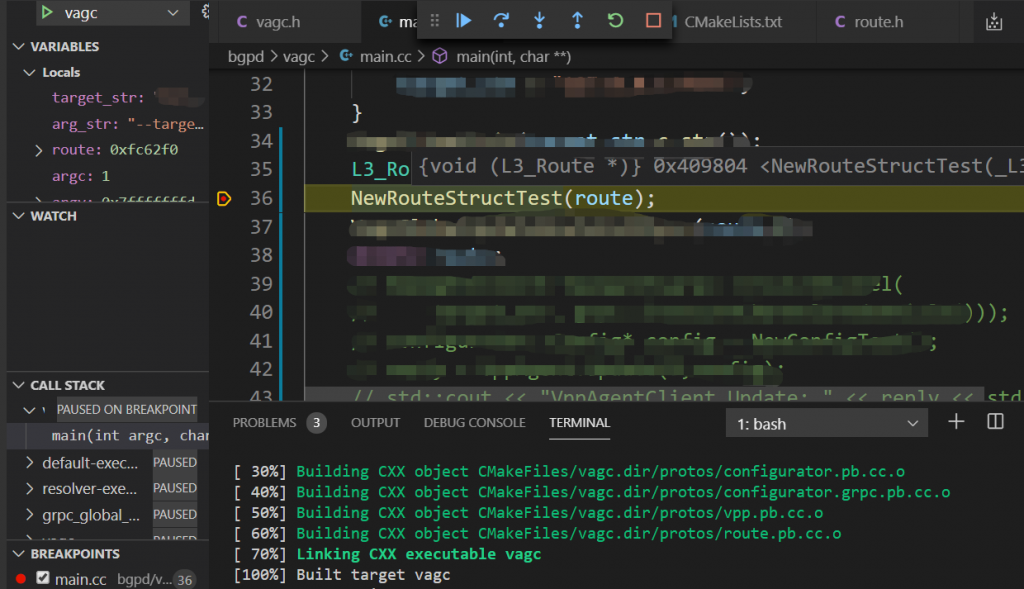
}3.打断点,编译程序并调试
建议打完端点后,再编译,然后如下图点击进行调试;

4.进行调试
本文最新状态可查看源站链接:VScode远程调试C代码程序